How to Remove a Popcorn Ceiling
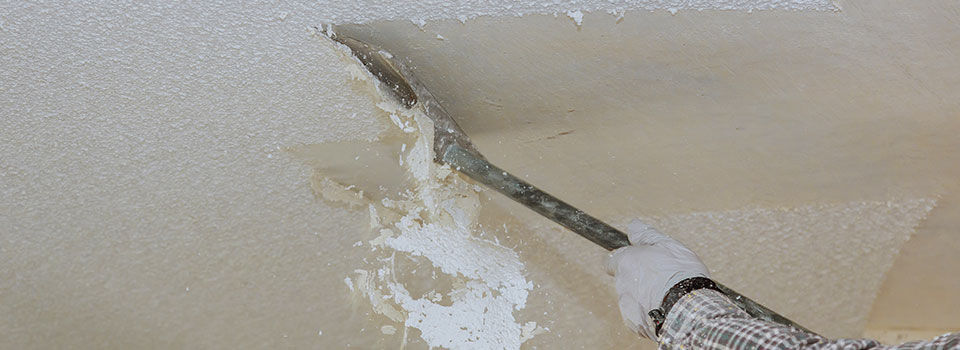
While popcorn ceilings were once all the rage, they’re anything but popular today. The textured surface is practically impossible to clean and requires a lot of work to paint. When it’s bumped by the wrong thing, it tends to crumble and leave a visible missing patch on the surface. Removing a popcorn ceiling doesn’t have to mean tearing anything out or rebuilding the whole surface. However, scraping away the coating will create enough dust that you will need to cover the entire room in painter’s plastic before starting. As long as you’re ready for the clean-up, removing a popcorn ceiling is likely easier than you might expect.
To Remove or To Cover?
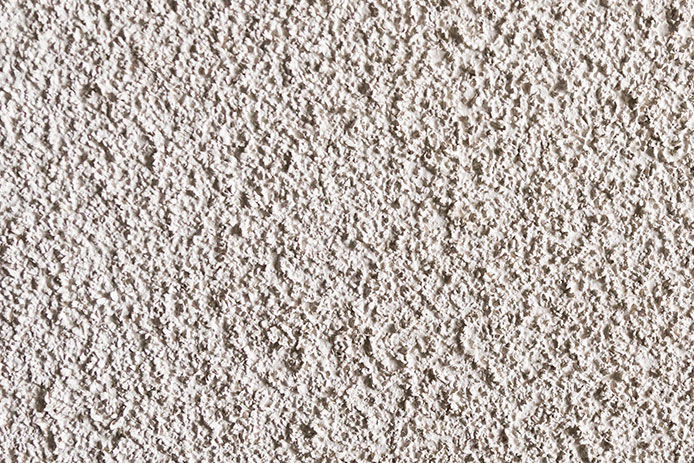
If you don’t like the idea of scraping over your head or vacuuming up fine dust, consider covering up the popcorn ceiling instead. Unless the room already has a very low ceiling, there should be space to mount a layer of gypsum or hardboard over the surface. Ceiling-grade drywall is thinner than the boards used on the walls, making it easier to hold up and attach to an existing finished ceiling. Yet removing the popcorn coating is far more economical, even after purchasing some specialty tools.
Test the Paint and Popcorn Material
Before disturbing any of the ceiling surfaces, take a small sample and have it tested for both lead and asbestos content. Homes built between the 1940s and 1980s have a high chance of containing at least one of the two materials. There are tests available at most home improvement stores that include postage to send the material to an accredited lab. Trying to sand or remove either of these materials can be hazardous to your health, while they’re safe if left in place. Even after verifying you’re not dealing with asbestos or lead paint, wear goggles and a dust mask to ensure the dust doesn’t irritate your eyes or lungs.
Keep the Surface Dry
Many DIY websites and TV shows discuss spraying the ceiling down with water to loosen the material and make it easier to remove. However, this is a risky idea unless you’re familiar with the process. It’s all too easy to add too much water and threaten the stability of the ceiling structure below the surface. Even if you don’t soak through to the drywall, it’s easy to gouge out even areas in softened material. While working on the ceiling dry maybe a little more time-consuming, it results in a smoother surface that is easier to finish and looks nicer in the end. You can always use a spray bottle to finely mist stubborn patches or one area to get started easily.
Choose a Wide Tool
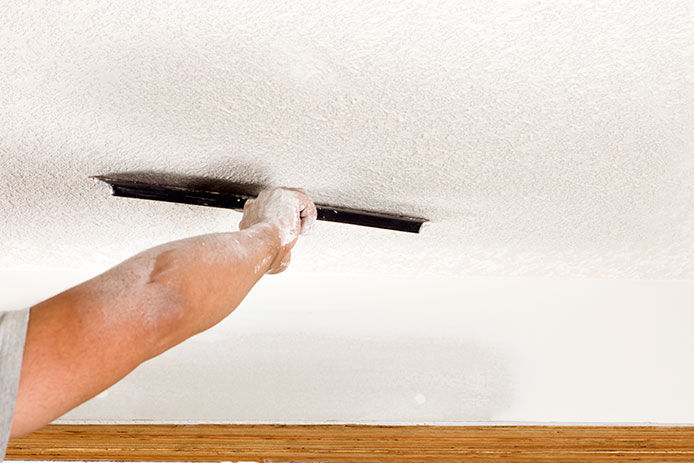
Invest in a 4- to 6-inch-wide paint scraper with a metal blade for this job. Narrow tools are necessary for tight corners and around delicate molding, but they will make the overall process take too long. Specialty ceiling scrapers are also available that are 8 to 12 inches wide, but it becomes much harder to apply the necessary pressure to get an even and thorough removal. Stick to a 6- to 8-inch wide blade maximum to get an effective amount of popcorn removed with each sweep.
Invest in a Telescoping Handle
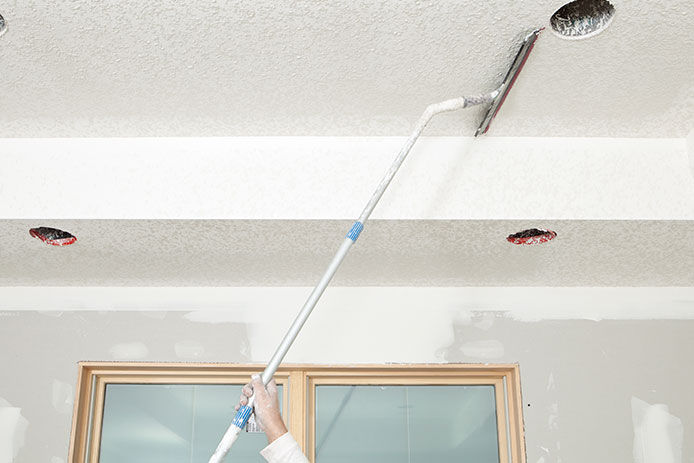
Some areas will need careful attention from you climbing up on a step ladder to reach the ceiling. However, the work goes fastest if you use a long and sturdy handle to work from the ground while scraping the ceiling. A telescoping handle that locks into position will give you the best leverage while allowing you to move freely around obstacles on the ground.
Prepare the Room
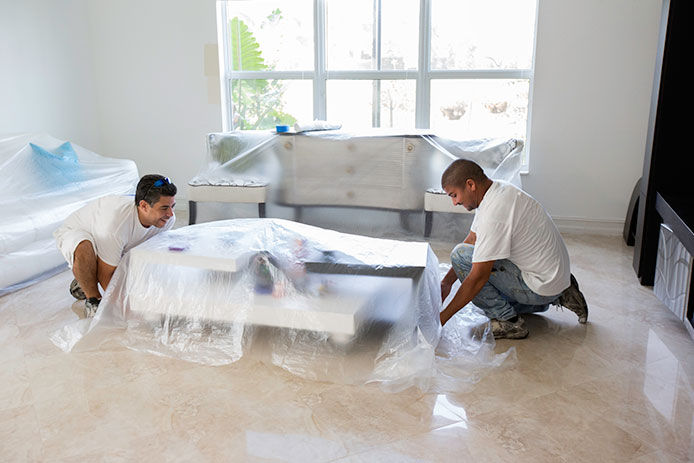
Cover everything in the room with painter’s plastic and painter’s tape, all the way up the walls to the edge of the ceiling. Any furniture that can’t be removed or flooring, especially carpet, should be covered completely to make clean-up a lot easier. Taking care of taping will preserve the existing paint job, reducing the work necessary after the scraping is done.
Patch and Smooth
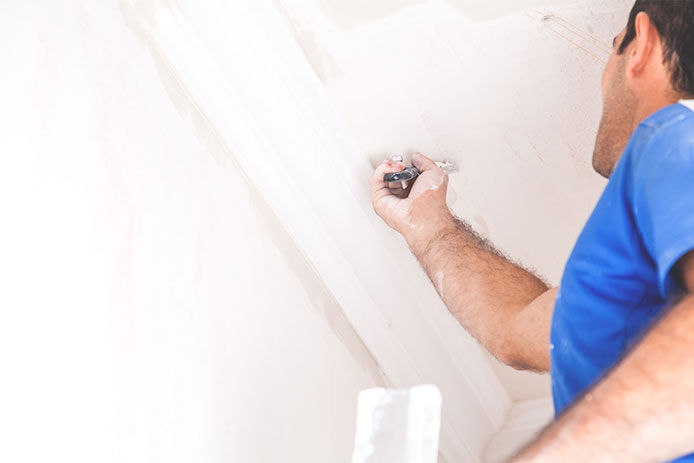
Scraping is fairly self-explanatory, requiring you to start removing the popcorn layer from the middle and moving towards the walls. After every patch of popcorn, the texture is gone, it’s your job to patch any gouges or cracks and smooth the entire surface. The more effort you put into smoothing the ceiling with sanding and the application of drywall mud, the better it will look in the future.
Paint and Clean Up

Before taking down all the painter’s plastic and cleaning up the dust, go ahead and prime and paint the ceiling. This saves the extra work of preparing for painting as a separate step. Once the paint is dry, and the ceiling is complete, taking everything down, being careful to fold the plastic inward to trap the dust. Vacuum and wipe down the surfaces, then admire your new popcorn-free ceiling.
Popcorn ceilings are dust traps and really age a room. Don’t be afraid to make a weekend project out of scraping, smoothing, and painting the ceiling to give it a modern finish. If you avoid adding water during the scraping, you can move immediately to patching and coating without delay.
While do-it-yourself projects can be fun and fulfilling, there is always a potential for personal injury or property damage. We strongly suggest that any project beyond your abilities be left to licensed professionals such as electricians, plumbers, and carpenters. Any action you take upon the information on this website is strictly at your own risk, and we assume no responsibility or liability for the contents of this article.